
We have loved partnering with Rit Dye in years past (check out our Ultra Violet Veil DIY) and today we bring you another fabric dyeing project! With everyone forced to be at home it’s the perfect time to work on some of your wedding DIY projects and we think this one would be such a showstopper for your big day!
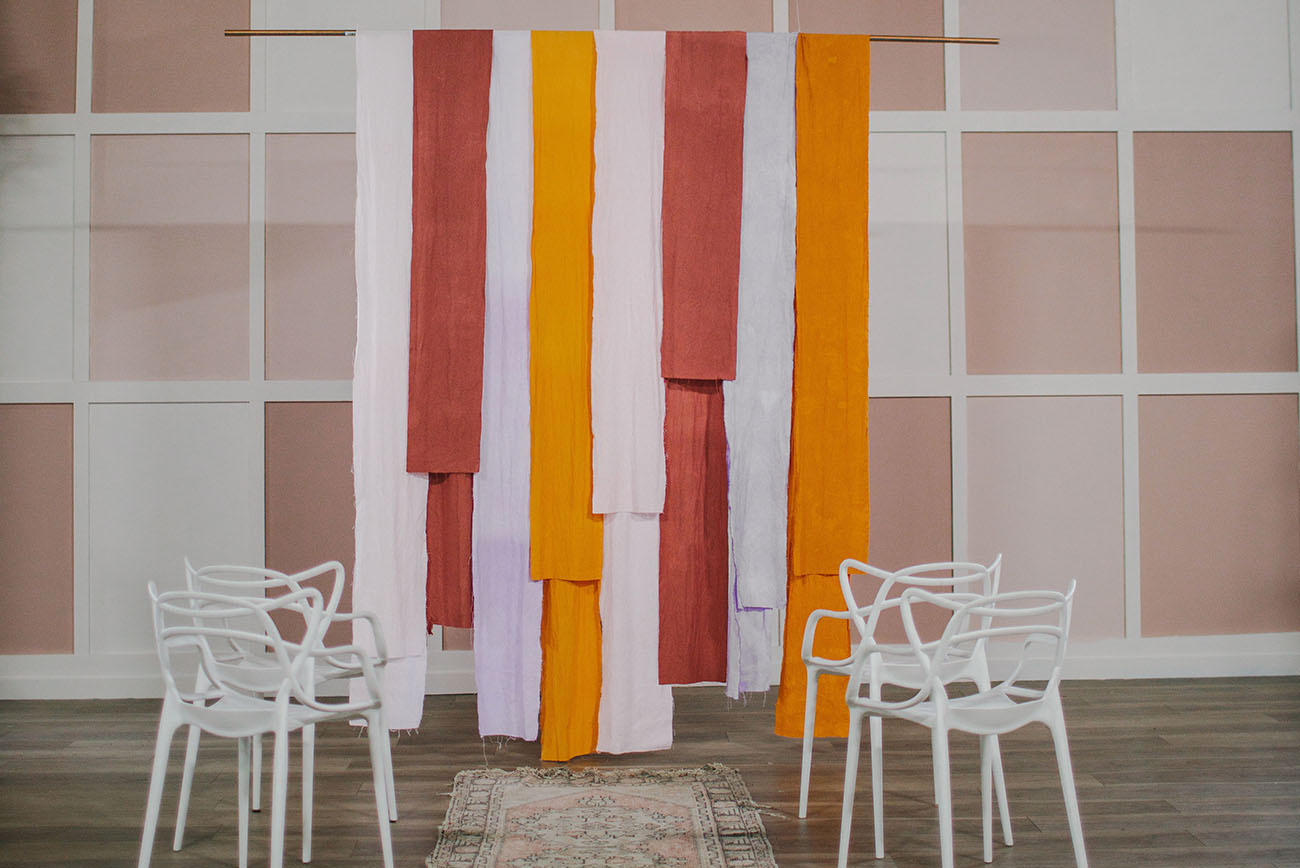
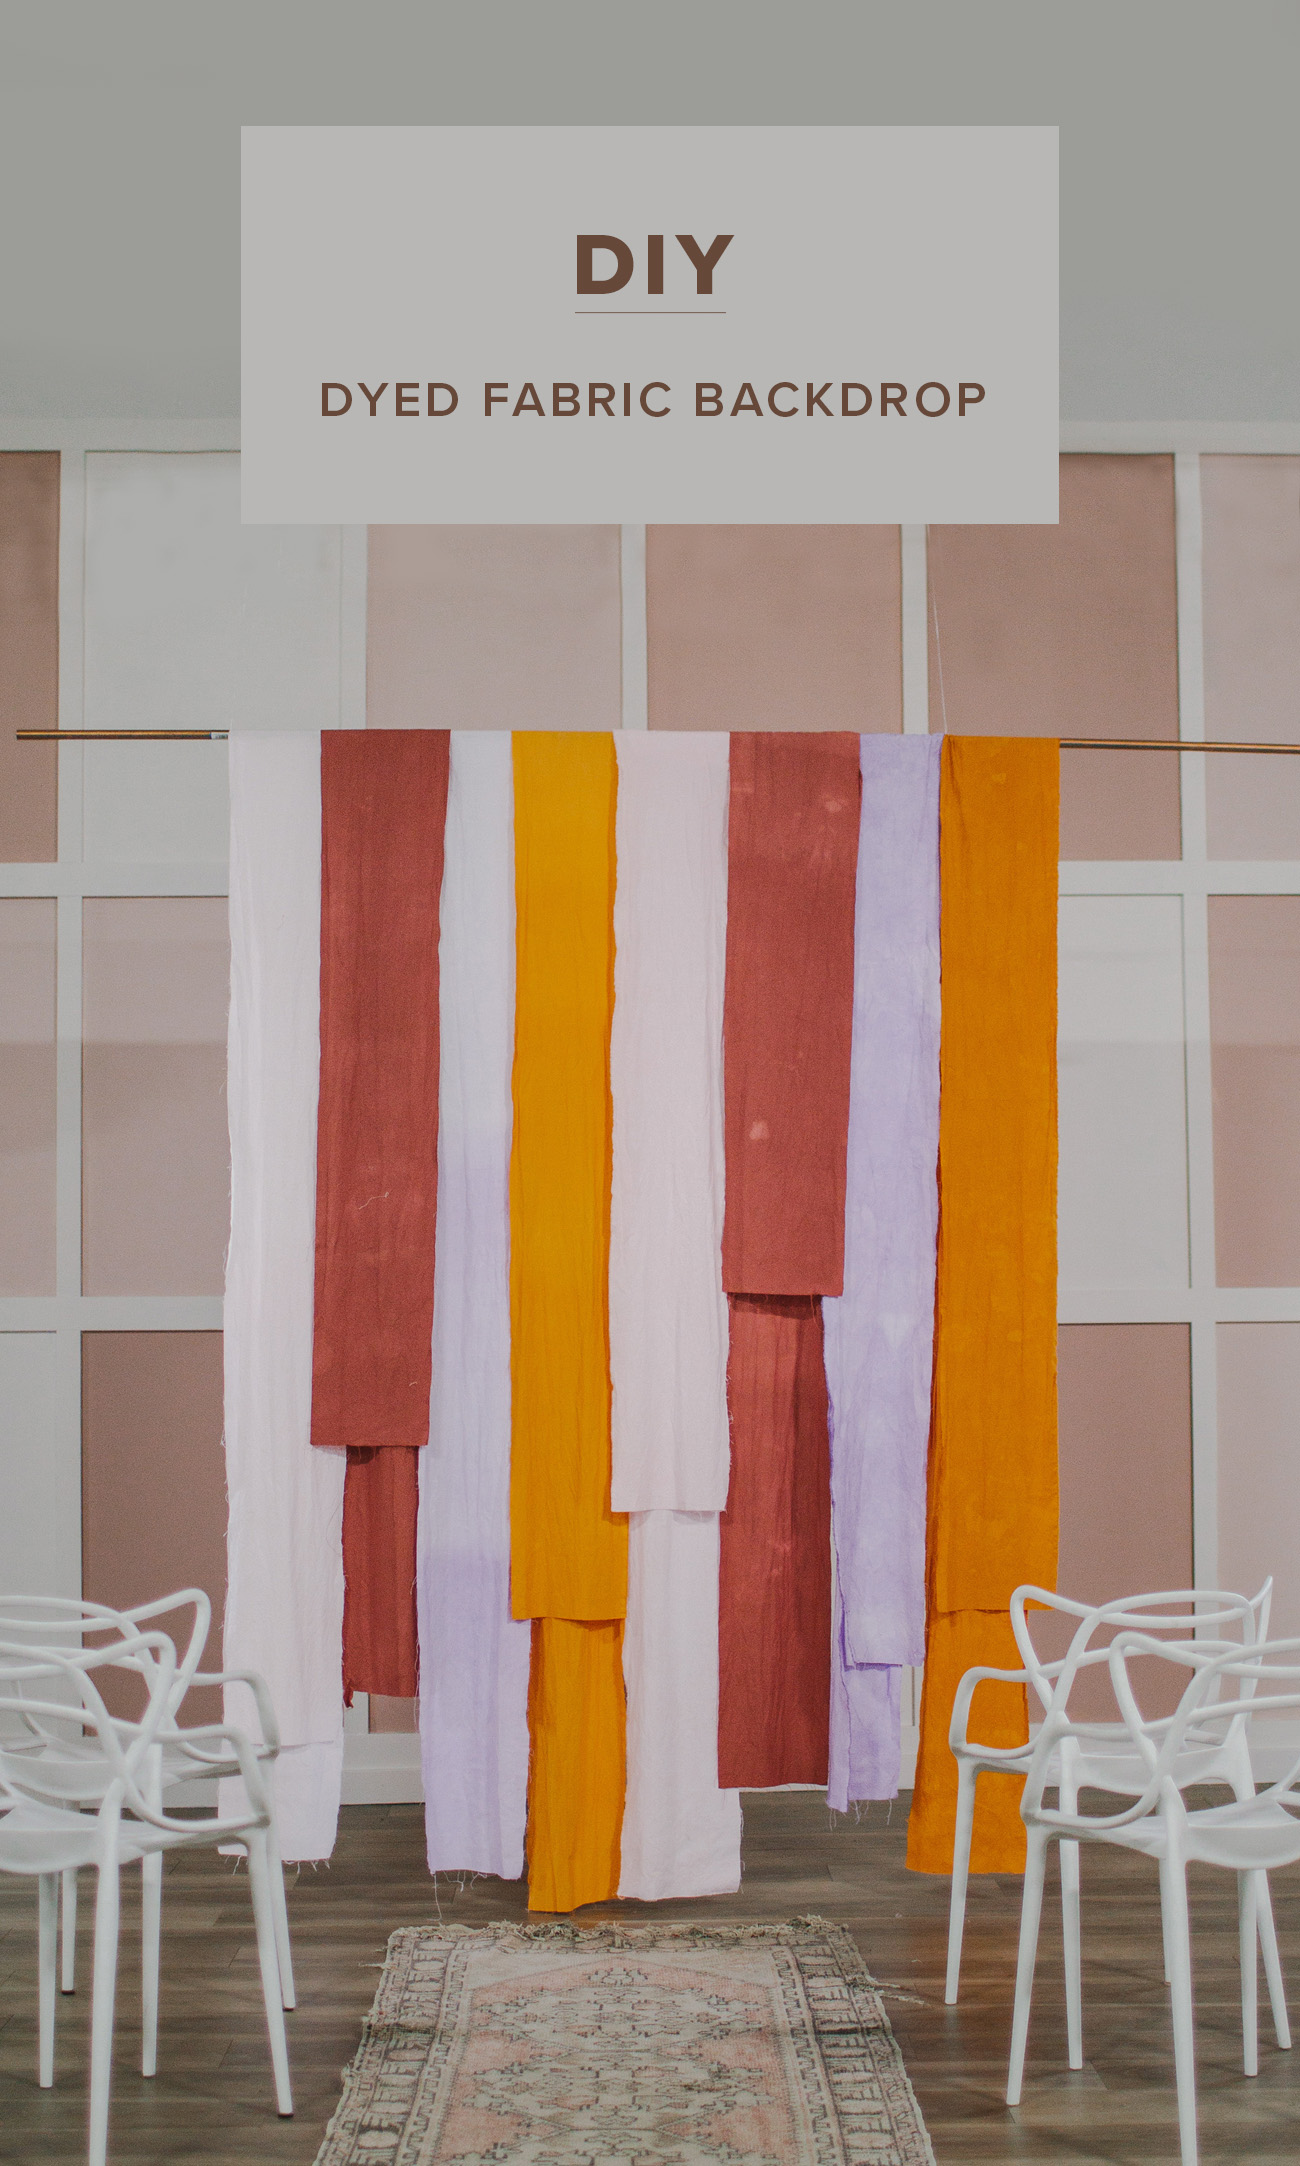
We have seen some pretty rad backdrops as of late, and wanted to share how you can make your own at home! With just a few dye colors from Rit and some fabric, you can easily create a show-stopper wedding decor piece. Here’s how we made ours…

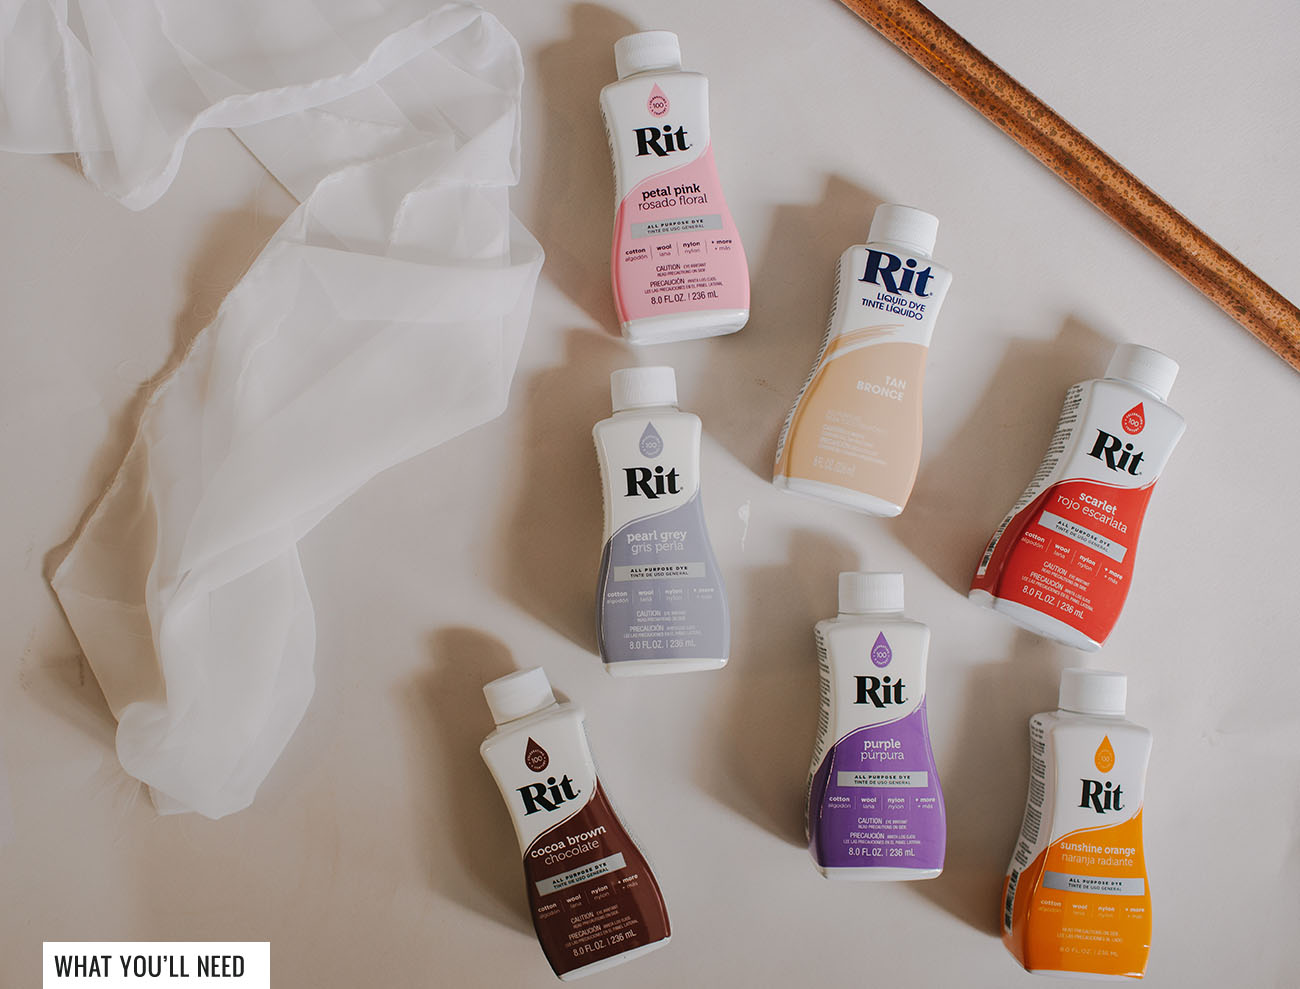
What You’ll Need:
• Rit Dyes. We used these colors: petal pink, tan, scarlet, pearl gray, purple, sunshine orange and cocoa brown
• 10 yards of white cotton fabric
• copper pipe to hang your backdrop on
• fishing wire
*not pictured: gloves and buckets to dye your fabric in.
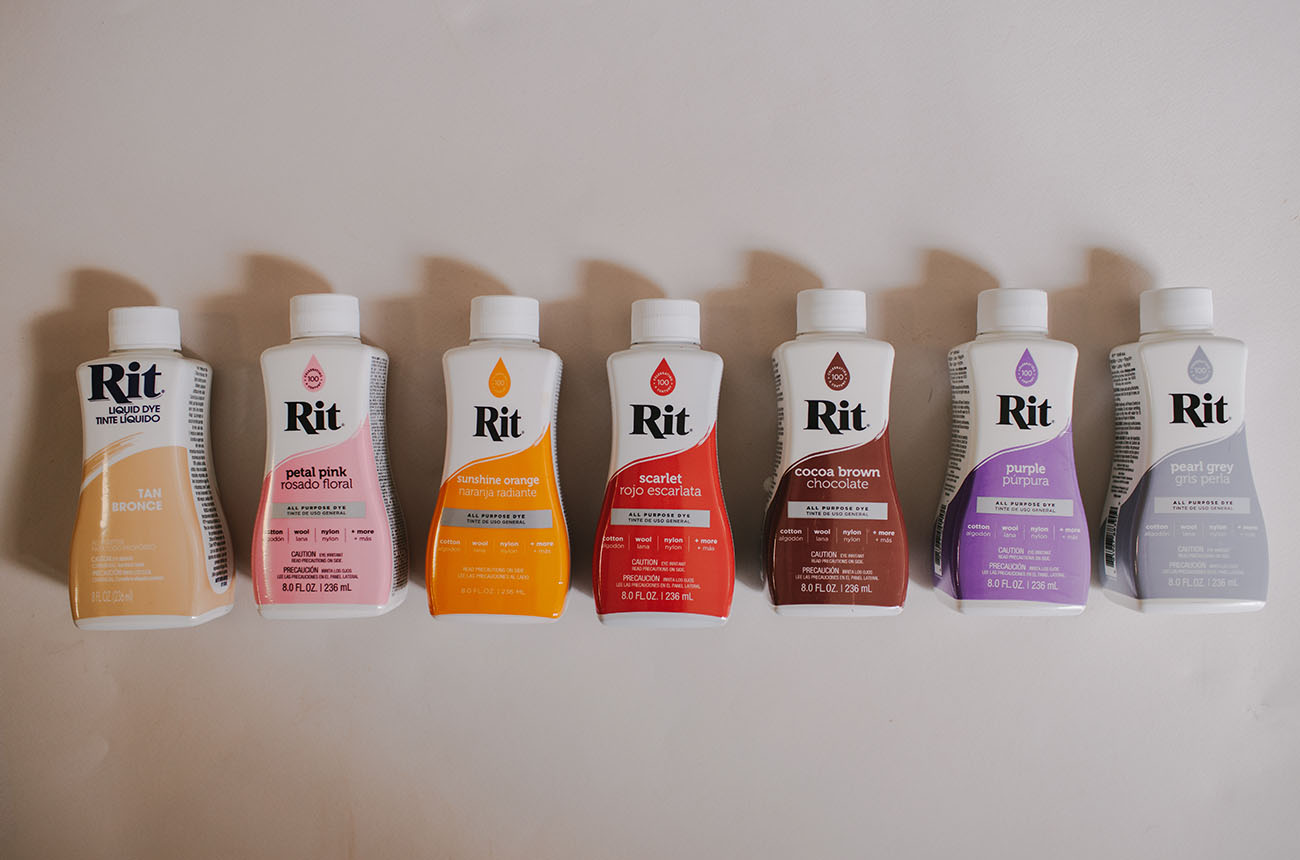

*tip: Rit Dye sent us a selection of all-purpose dye, which is our first important tip! Make sure the fabric you choose corresponds to the type of dye that you need. Any synthetic or polyester fabric will need to be dyed with Rit’s DyeMore for synthetics. We choose a white cotton which is very easy to dye with their all-purpose line.
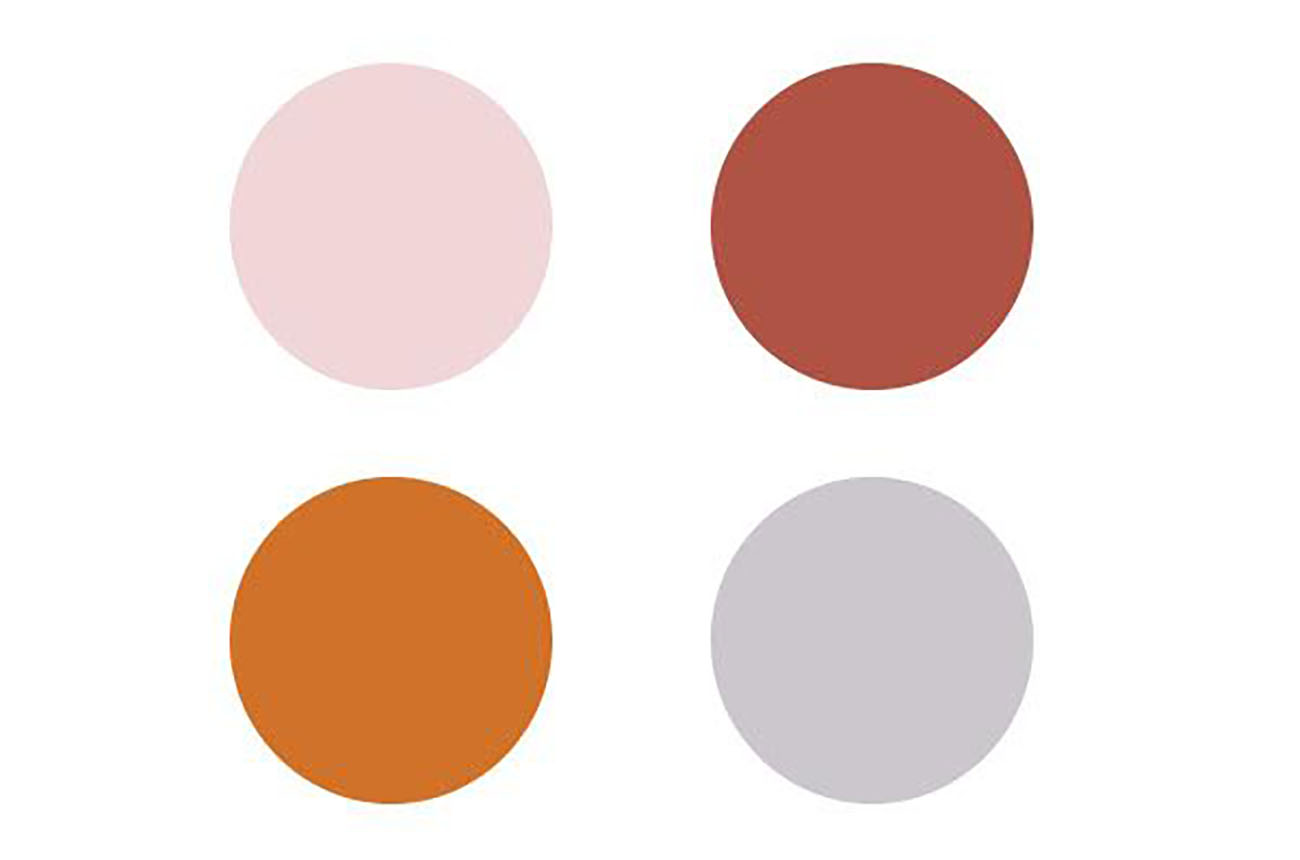

The first thing we did when deciding what dye we needed was make a color palette. We based our colors off this super popular IG post we featured. After using the dropper tool in photoshop and choosing the right colors, we had the color palette above! The amazing thing about Rit is that their color formula section allowed us to find these exact color recipes to recreate! So instead of being limited to one primary color or dye, you can mix recipes of multiple colors to create your perfect color palette! Here are the recipes we used:
• Blushing Bride
• Chili Oil
• Russet Orange
• Lilac Mauve
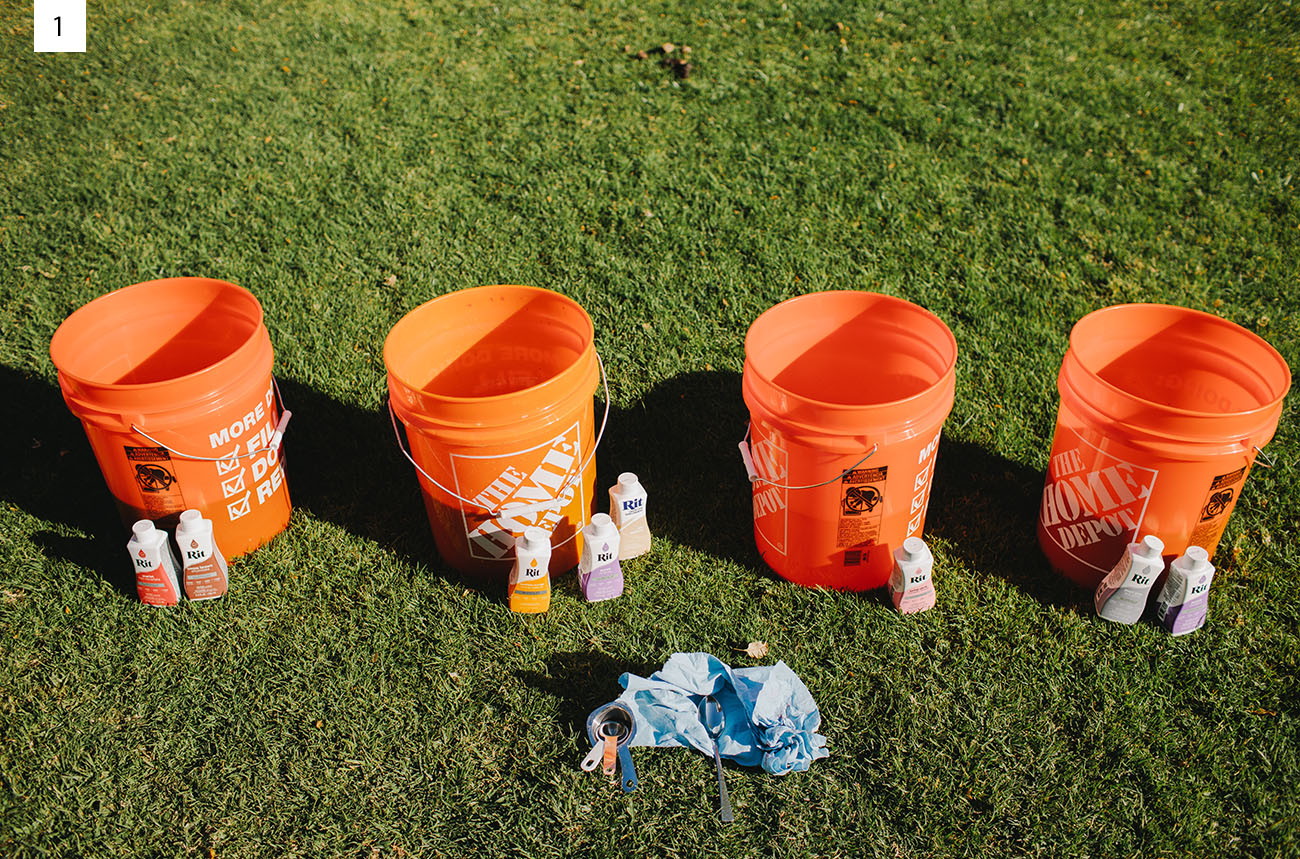

Step 1: Prep your fabric by cutting them into panels. Since we bought 10 yards of fabric, they were cut into two 5 yard pieces, and then folded twice length-wise to create 8 long panels total. Once your fabric is cut, you’ll want to prewash it (you can leave the fabric a bit damp when you begin dyeing it).
Prep your dyes in your buckets using the formula for your color. We filled each bucket with 3 gallons of hot water (as per the website). We love that their dyes are non-toxic so if you don’t have a yard outside, you can do this indoors as well! We didn’t want to worry about any messes inside so we did all our dyeing outdoors – which is great since Rit dye is safe to pour on the grass once you are done!

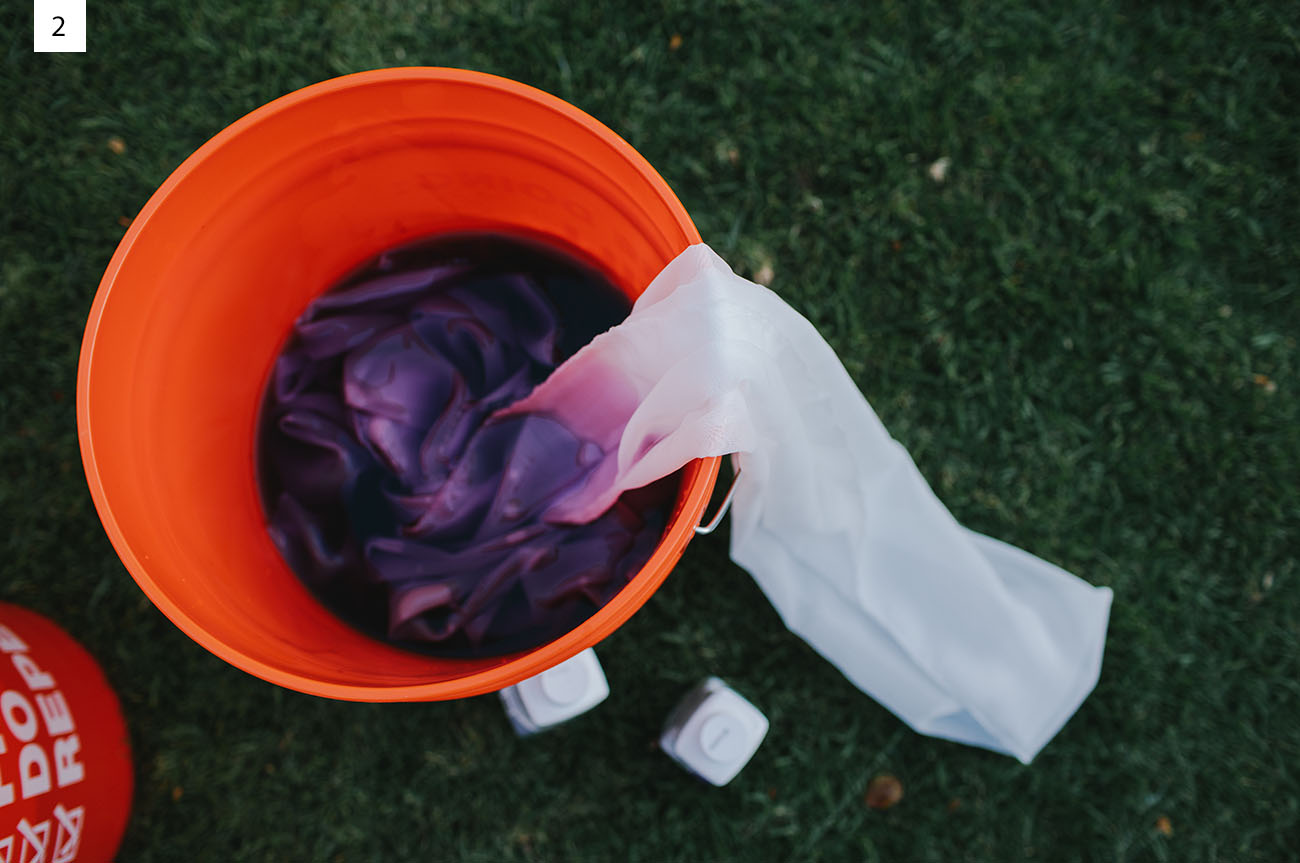
Step 2: Before we dyed any large pieces, we made “swatch” colors of every recipe to make sure it was correct. Just cut a small square off the end of your fabric and dye that for every color you want to use. After you have perfected the color, start by dyeing your panels (remember to pre-wash your fabric!). Since we did one panel each with an ombre look, we used the dip dye method.

Step 3: For the dip method, take your panel and dip the bottom portion that you want to be the darkest into the bucket. Start to lift in and out of the dye so that the edge of the fabric is continuously splashing into the water. Do this for 5 minutes. After 5 minutes, insert more of your fabric into the dye and do the same dipping method for another 5 minutes. We timed 3 sections so each panel spent a total of 15 minutes in the dye baths.
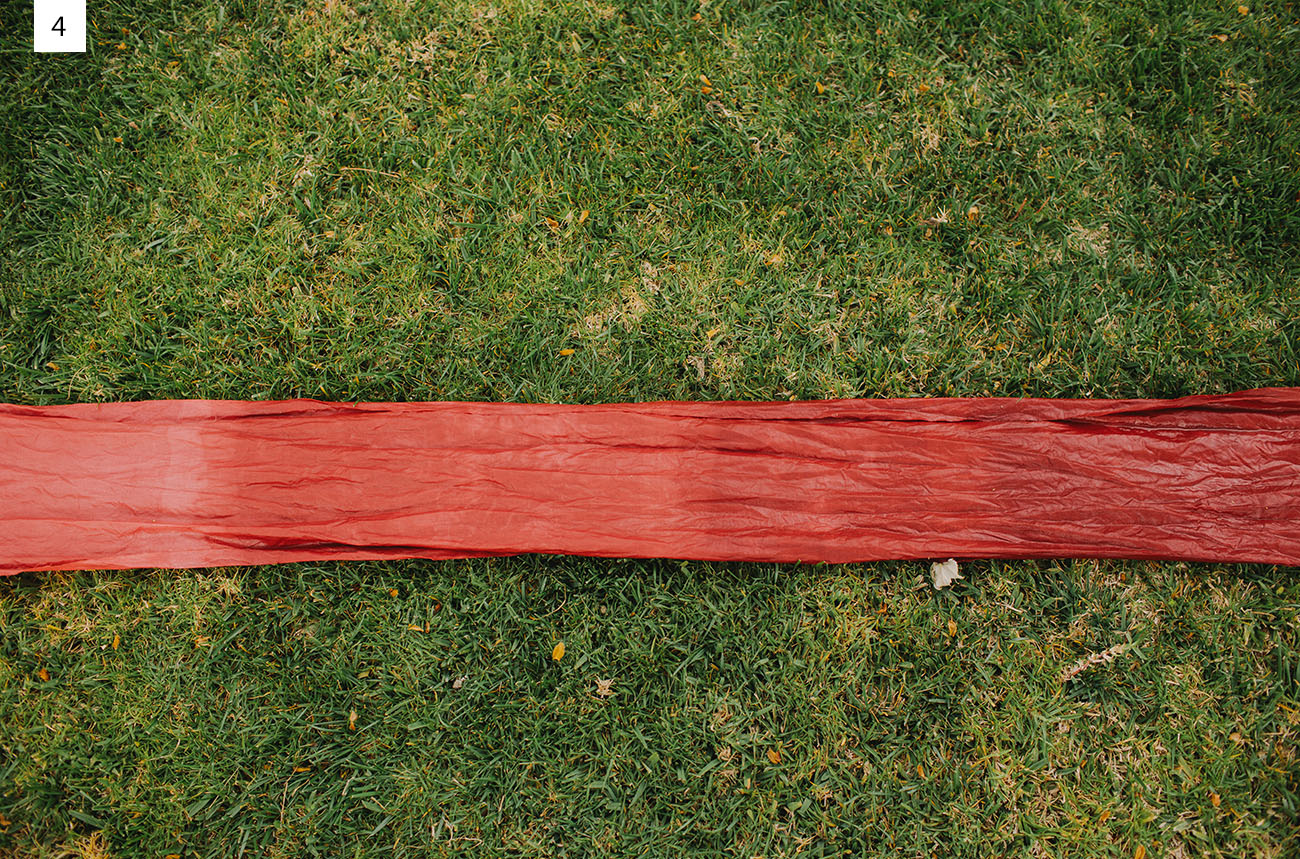

Step 4: Rinse your panels out with cold water and let dry. Once dry, we ironed out all our pieces so they were nice and straight.
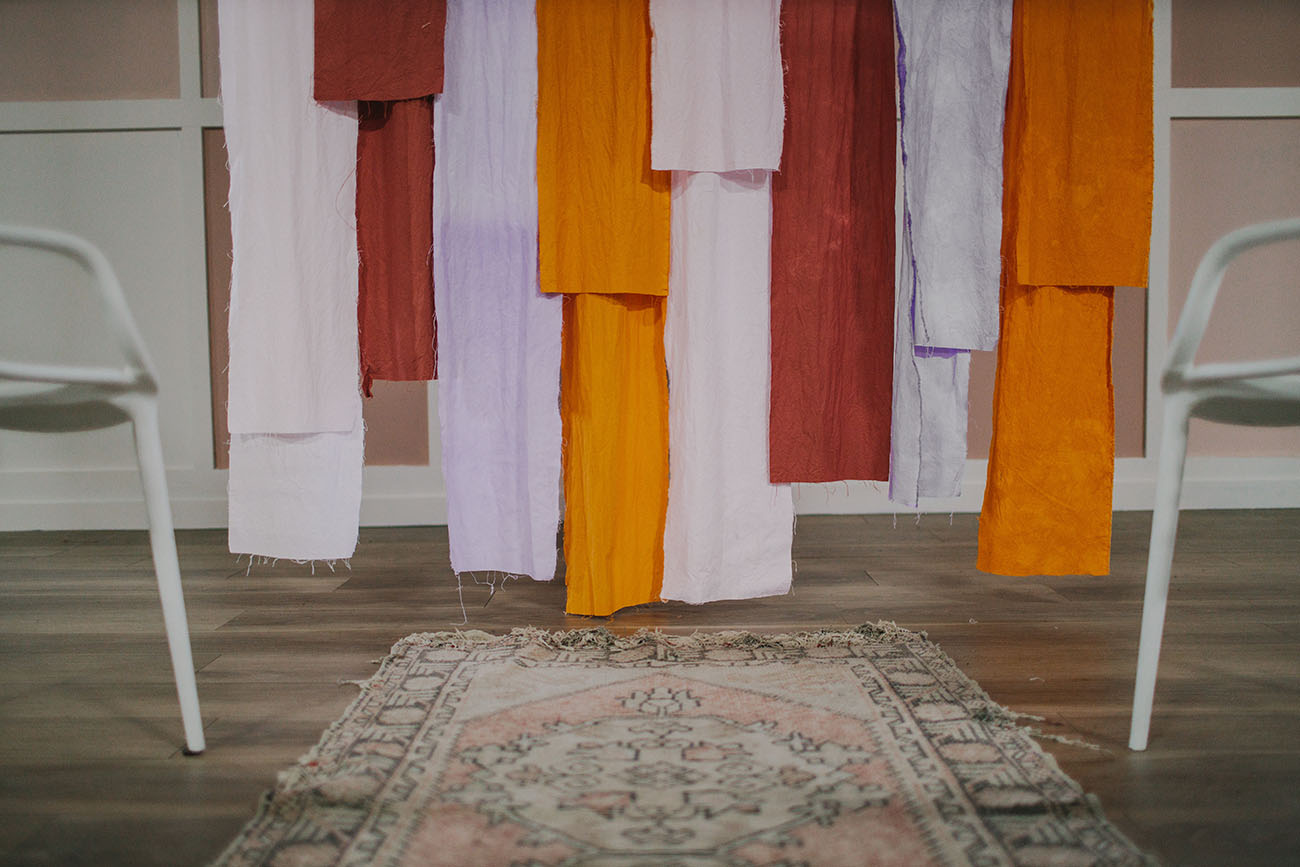
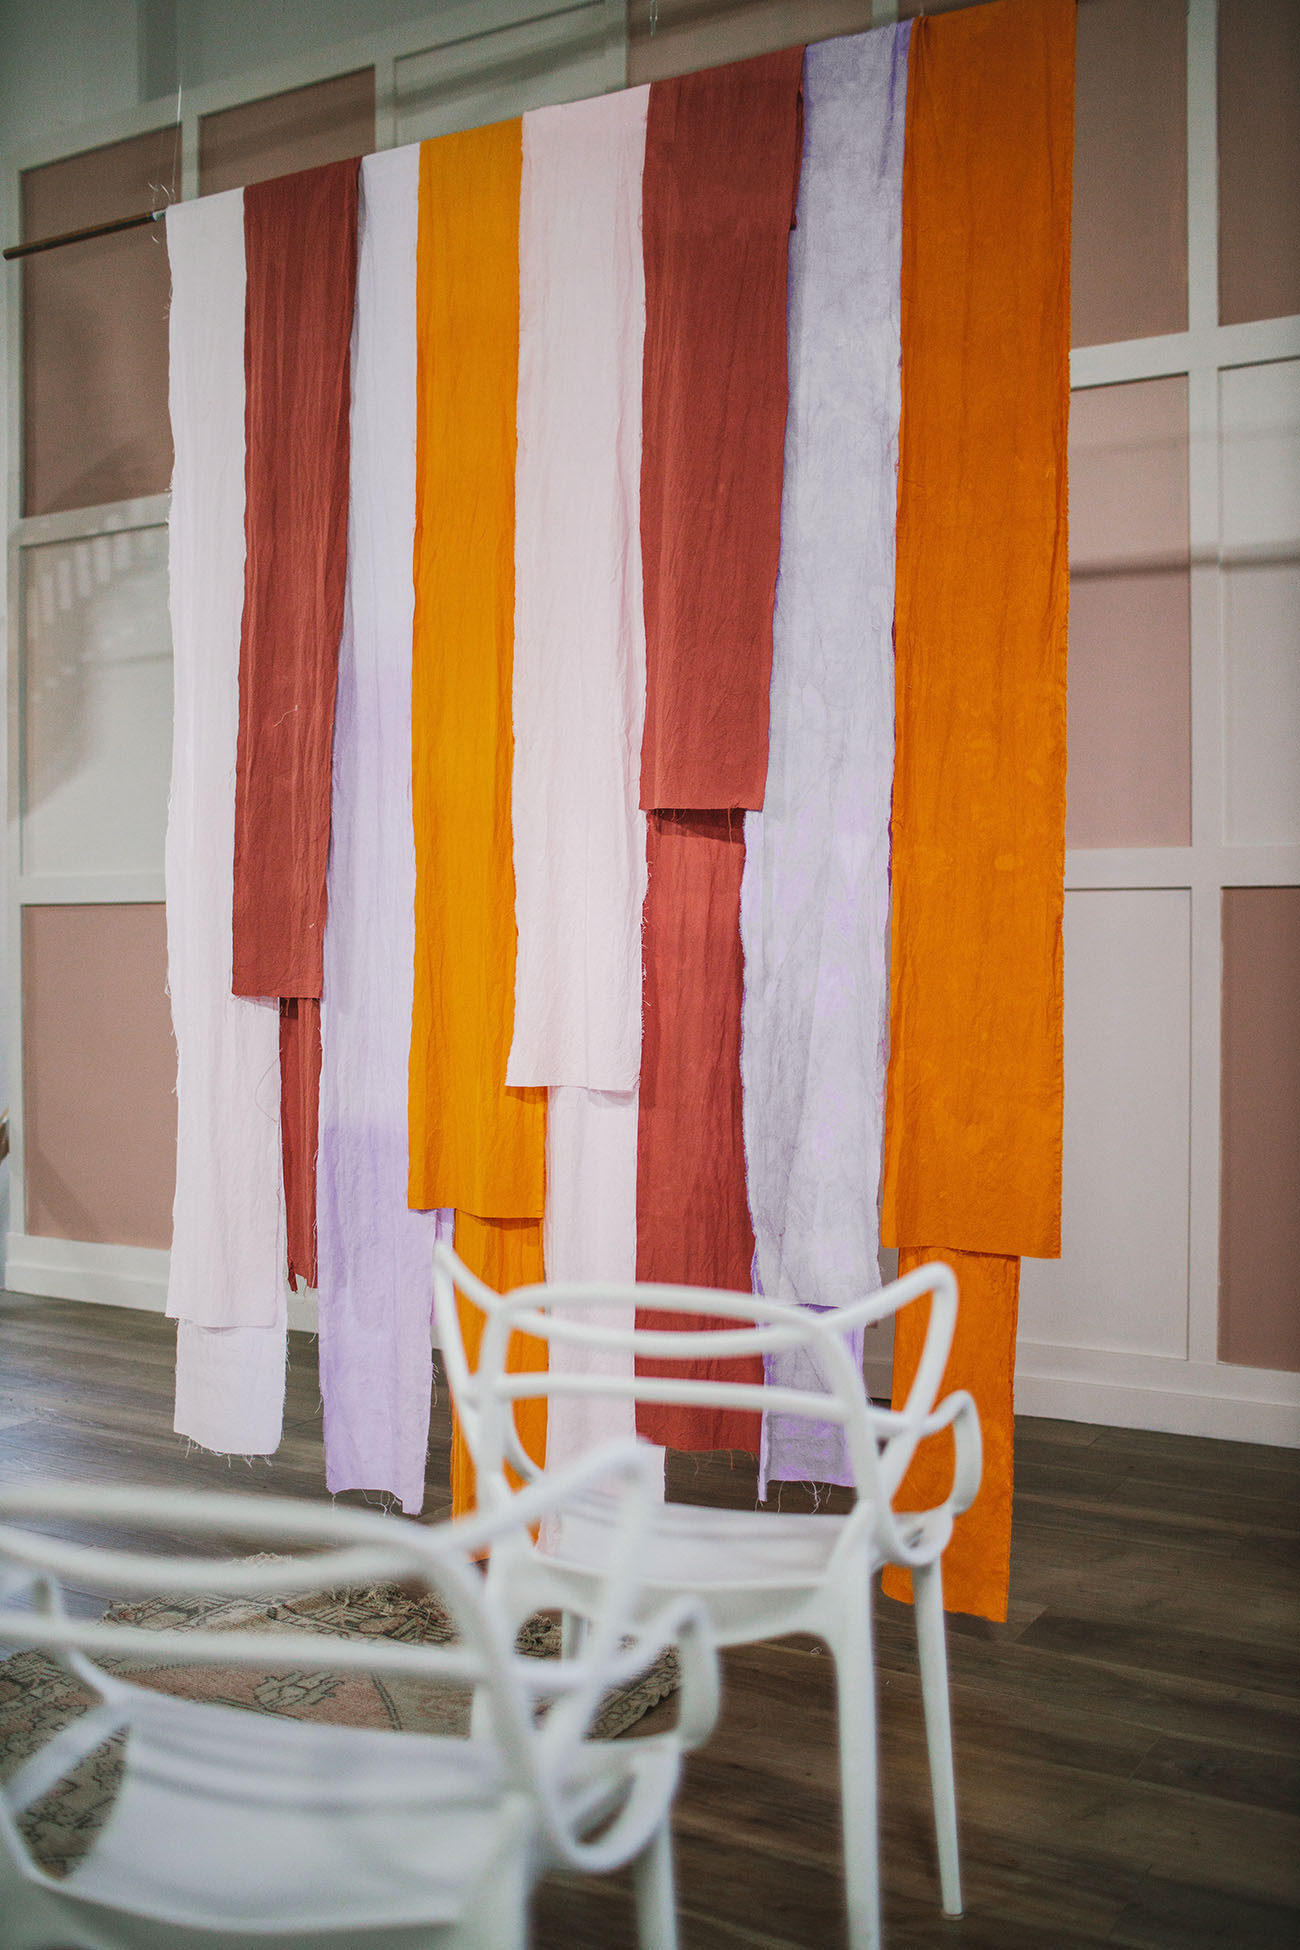
For hanging your backdrop, we used the copper pipe to display the panels and played around with the levels of each fabric making some smaller or longer than others. Use a strong fishing wire to hold your pipe! You could also display the fabric backdrop over a door, other fun rentals, etc.

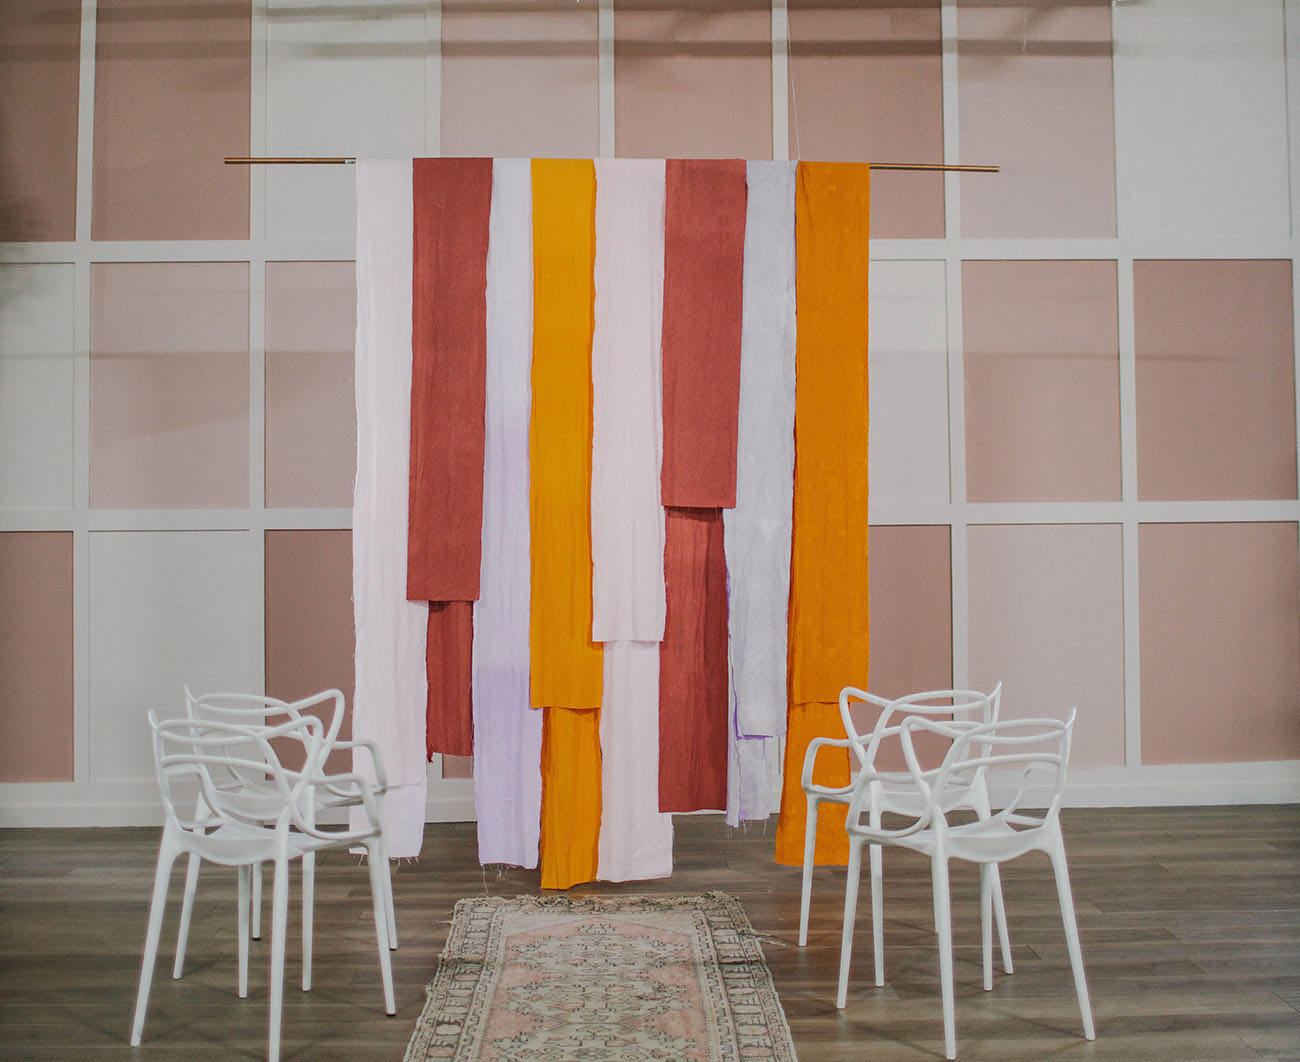
Special thank you to Found Rentals who lent us their warehouse backdrop (isn’t that pink wall amazing?!) and rug/chair rentals! We have been HUGE Found Rental fans here at the blog and we hope you are too!


If you make your own fabric backdrop using these steps or supplies, we’d love to see how it turns out, so please share on Instagram along with the hashtag #GreenWeddingShoesDIY. We’ll regram our faves!
And if you are looking for more DIY inspiration using Rit dye, be sure to check out their Wedding DIY Page!

This is a sponsored conversation written by GWS on behalf of Rit Dye. All content, ideas, and words are by Green Wedding Shoes. Thanks for supporting our sponsors.